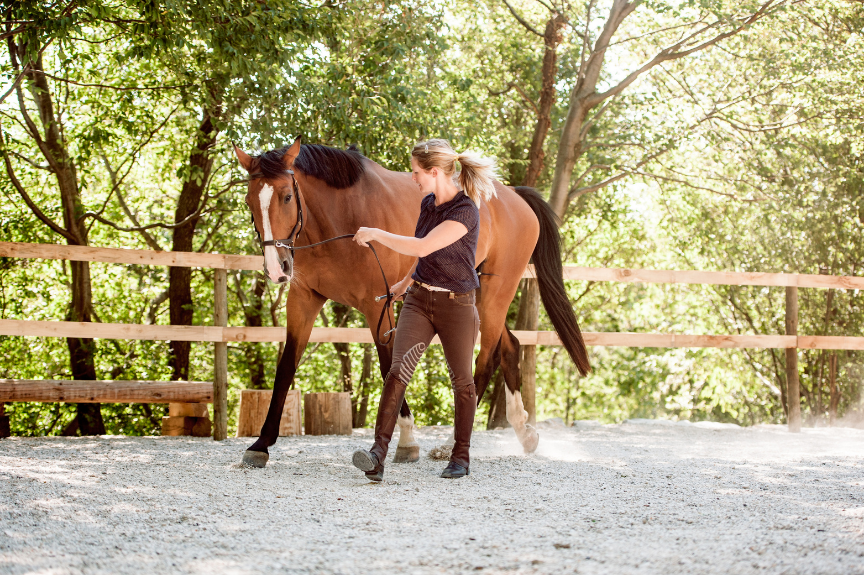
Lungeing is a valuable and widely used technique for preparing a horse before a rider mounts, especially in training situations or structured riding lessons. It serves multiple purposes—from warming up the horse’s muscles to assessing its soundness and ensuring it's calm and responsive. However, safety must remain the top priority throughout this process.
Why Lunge Before Mounting?
Lungeing allows the horse to warm up physically, helping to prevent injuries. It's also a chance to check for any signs of lameness before a rider gets on—far more efficient than having to dismount after spotting an issue mid-session. Equally important is managing a horse’s energy levels. A fresh or excitable horse can be dangerous, so it's best to work it through walk, trot, and canter on the lunge—even if the upcoming session won’t involve all those gaits. This helps establish control and responsiveness across all paces.
If the horse will be worked in side reins during the riding session, these should be introduced during the lunge warm-up to ensure the horse is comfortable with them. It's risky to try them for the first time once a rider is on board.
While, ideally, a horse should be lunged in both directions to promote balanced muscle development, time constraints often make this impractical in short lessons. In most cases, lunging through all three gaits in one direction is sufficient—unless the horse is particularly fresh or there's a concern about unevenness.
Managing the Rider During Lungeing
The safety of the rider, particularly in a teaching or training context, must also be considered. Riders should wait outside the arena during lungeing rather than leaning on fences or standing nearby, where they risk being kicked or knocked over. They should not stand in the centre with the instructor, as it can be difficult to monitor everyone’s position and movements at once.
Essential Safety Procedures
Ensure the gate is closed and direct the rider to a safe location to wait.
Saddle and bridle the horse, optionally using a cavesson and side reins.
Secure the reins to avoid entanglement, either by wrapping them around the horse’s neck or fastening them to a monkey strap and securing them under the throat latch.
Secure the stirrups—either laid over the saddle or looped and tucked through the keeper.
If used, attach the outside rein first, then the inside. Alternatively, warm up without them before adding them later.
Bring the horse back to a controlled halt through each pace. Remove the side reins, starting with the inside ones, and secure them away from the legs. Check the girth again before the rider mounts.
Final Thoughts
Lungeing is not just a warm-up. It’s a critical step in preparing both horse and rider safely and effectively. With careful preparation, clear communication, and continuous risk awareness, lungeing can support productive and injury-free riding sessions.